Thursday 13 September 2018

Exporting to AutoCAD


If you need to export your Revit model to CAD for any reason you need to be careful what scale the Revit view is set to prior to exporting. At different scales you will get varying results in the final CAD file.

For smaller scales the export is without problem, but for some larger scales (above 1:200) the export will start to drop detail in you CAD file. And there doesn’t seem to be any logic towards what goes missing.

The examples below are images of the final AutoCAD (DWG) exports for a simple screen model.

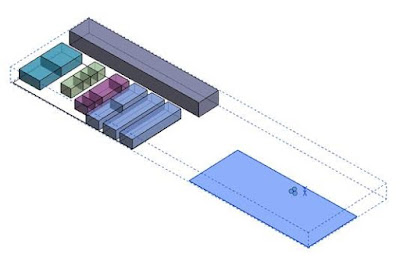
Original Revit Model


Revit Export Scale 1:200


Revit Export Scale 1:500


Revit Export Scale 1:1000


Revit Export Scale 1:2000


So when you are exporting to CAD from Revit, be aware that any exports above 1:200 may not give you the results you were expecting.


Monday 3 September 2018

Grouping In-Place Masses


If you are working with In-Place Masses be careful when you group them together. The masses will group together fine, it is only when you try to move or copy the In-Place Mass Group that you will start to encounter some problems.


When a group containing In-Place Masses is moved or copied they will not relocate to their new position. Instead they will remain in their original location creating a duplicate copy on the same instance, (or worse….. and start randomly placing masses).

This is clearly evident when you have modeled elements grouped with the masses (eg. Floors), the modeled elements will relocate properly and the masses are left behind.


So when you are working with In-Place Masses, try not to group them together.