Tuesday, 9 December 2014

Cut Profile

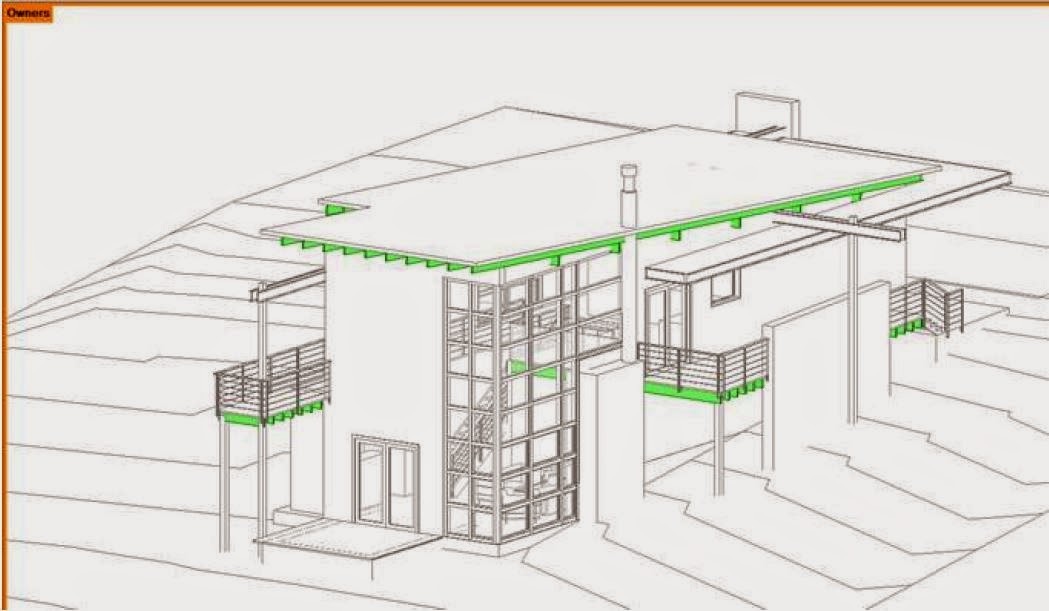
If you are creating detail views in your model and in specific areas you would like the profile of the element to change without having to manipulate the modelled element. You can use the Cut Profile tool to change the shape of elements that are cut in a view, such as roofs, floors, walls, and the layers of compound structures. The tool is available in plan, RCP, and section views. Changes made to the profile are view-specific; that is, the element's 3D geometry and its appearance in other views do not change.

This tool is used in one-off instances. If you find yourself manipulating the cut profile over and over again for the same object, then you should modify the modelled element. Otherwise you are fudging your model.

The Cut Profile tool is in the View Ribbon.

You can select an individual Face or the Boundary between faces (for elements adjacent one another).


Just select the boundary you would like to adjust and edit the sketch.


When you are drawing the sketch, there is a little blue arrow. Make sure that it is pointing towards the Object you want to show, or you won’t get your material fill pattern to fill the new cut profile.


Monday, 8 December 2014

Opening Worksets

When you are opening a Central Project File that contains worksets, you can speed up the process by specifying what worksets you would like to open by selecting the Specify…. tool in the Open Dialog Box. Just hit the down arrow beside the Open button.


This will give you the option of picking the worksets prior to opening. It will save you having to go to the worksets after the file has opened. (As a default it sets them all to open, just review the list and close the one you don’t want!)


Thursday, 4 December 2014

Formula - Changing Units

When using formulas in your Revit Families, it can sometimes be troublesome when you are using other parameters to drive formulas that contain different unit types.

For example, if you are creating a parameter that is a number type and you are using a Length Parameter in the formula. The result will be an error ‘Inconsistent Units’


To get these formulas to work, in the formula, just divide the Length Parameter by 1 (the ‘mm’ will automatically appear). Then you will get the correct result.


This process works with other types of Parameter types that use units…..


Monday, 10 November 2014

Winning Lego Pumpkin

I am pretty happy with myself. My Lego Pumpkin won in Zach Kron's Parametric pumpkin competition.

http://buildz.blogspot.com.au/2014/11/happy-halloween-vi.html


Worksharing Display

Worksharing Display allows you to distinguish workshared elements in your model. (A great way to see who is interfering with your model.)

The worksharing display is located in the View Control Bar at the bottom of the modelling view.


You can use worksharing display modes to display:

  • Checkout Status - The ownership status of elements.
  • Owners - The specific owners of elements.
  • Model Updates - Elements that are out of sync with, or have been deleted from, the central model.
  • Worksets - Which elements are assigned to particular worksets.

The view below is identifying who the owner is of some of the structural elements.


The Worksharing Display Setting dialogue box (accessed through the Worksharing display Icon) allows you to change the colour representation in the Worksharing display View.


Wednesday, 5 November 2014

Reference Plane Identification

When you are using Reference Planes in Projects or Families, it is very useful to name your Reference Planes so that they can be identified later.

If you select the Reference Plane and go to its Properties, you will see that there is a parameter where you can provide a Name.


When you need to set a new work plane, now you have the named Reference Plane in the list.


Monday, 3 November 2014

Door Schedule - Adding Rooms

If you are creating a door schedule in your project, some important columns that can be added is the information regarding the rooms that the door is leading to and from.


To access these parameters in your schedule, they aren’t in the default list of available fields. In the bottom left hand corner of the schedule there is a ‘Select available fields from:’ selection box. As a default it is set to ‘Doors’, but you have the choice to change it to ‘From Room’ or ‘To Room’. This will allow you to select additional room based fields to pick from.